
|
|
|
        
|
| |
Australian safety requirements 2003
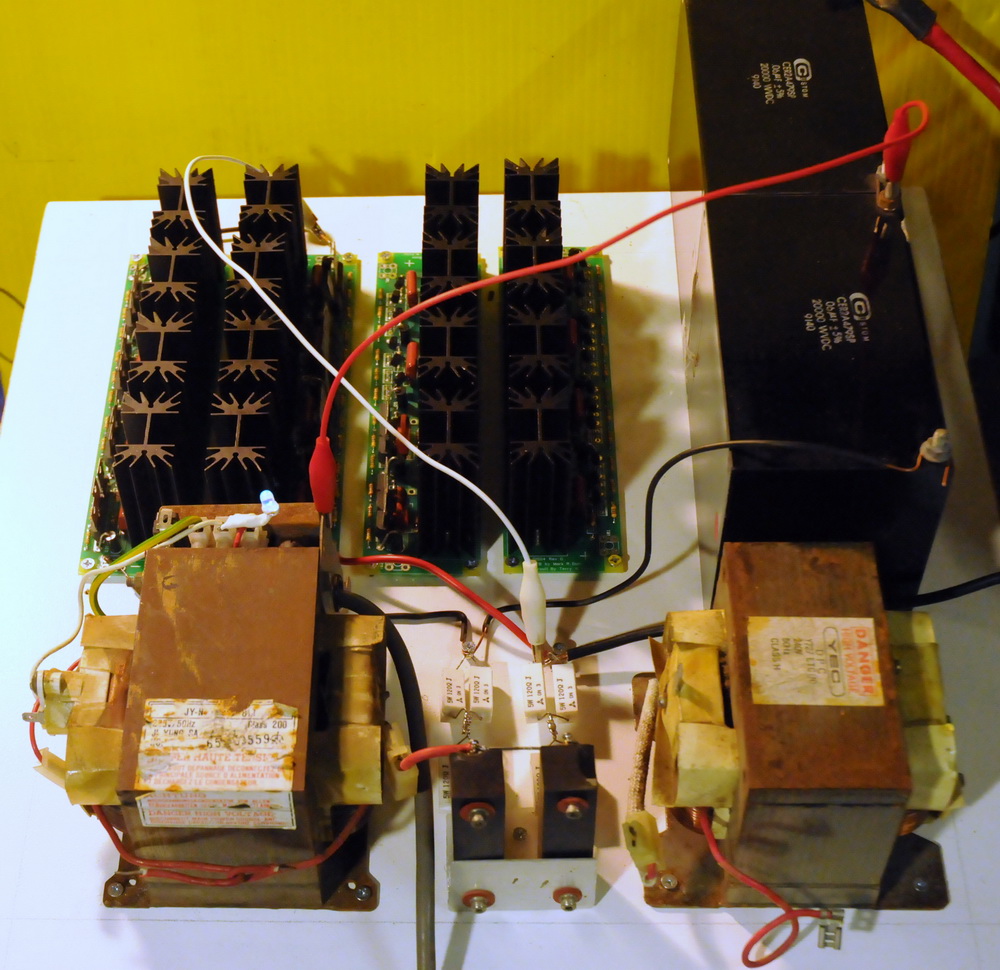
The Dept of Energy Safety inspected my 'shed' on Nov 21, 2003. My equipment runs from 50 V AC to make it pass the Western Australian requirements. Higher voltages require a qualified electrician unless they are 'downstream' of the 50 V AC. This is provided by an arc welder stepping down the 240 V AC mains to 50 V AC (120 A peak). The 50 V AC is then stepped up (by another arc welder wired in reverse) to

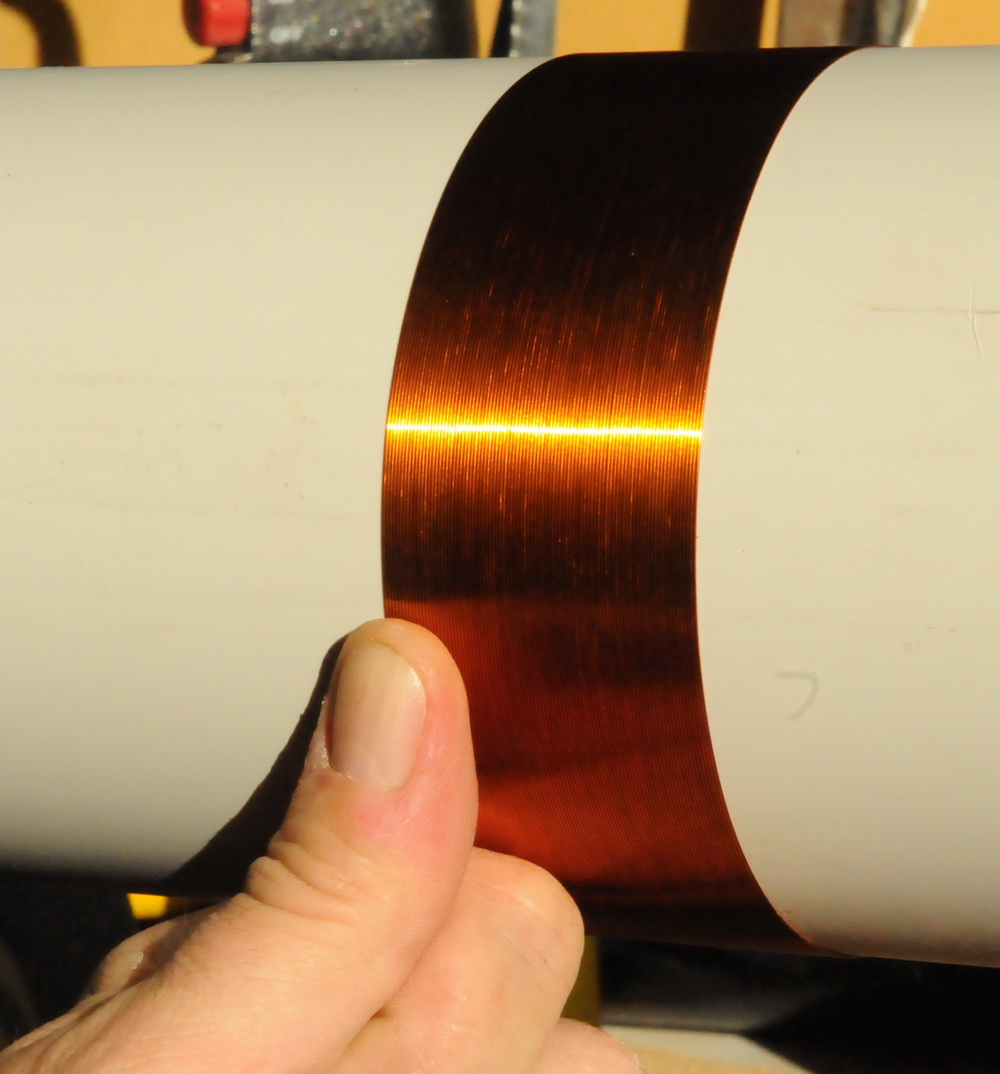
Above shows the winding of the 1000+ turns on each secondary using thumb guidance and a manual winder. Then it gets a couple of coats of polyurethane (common timber floor sealant).
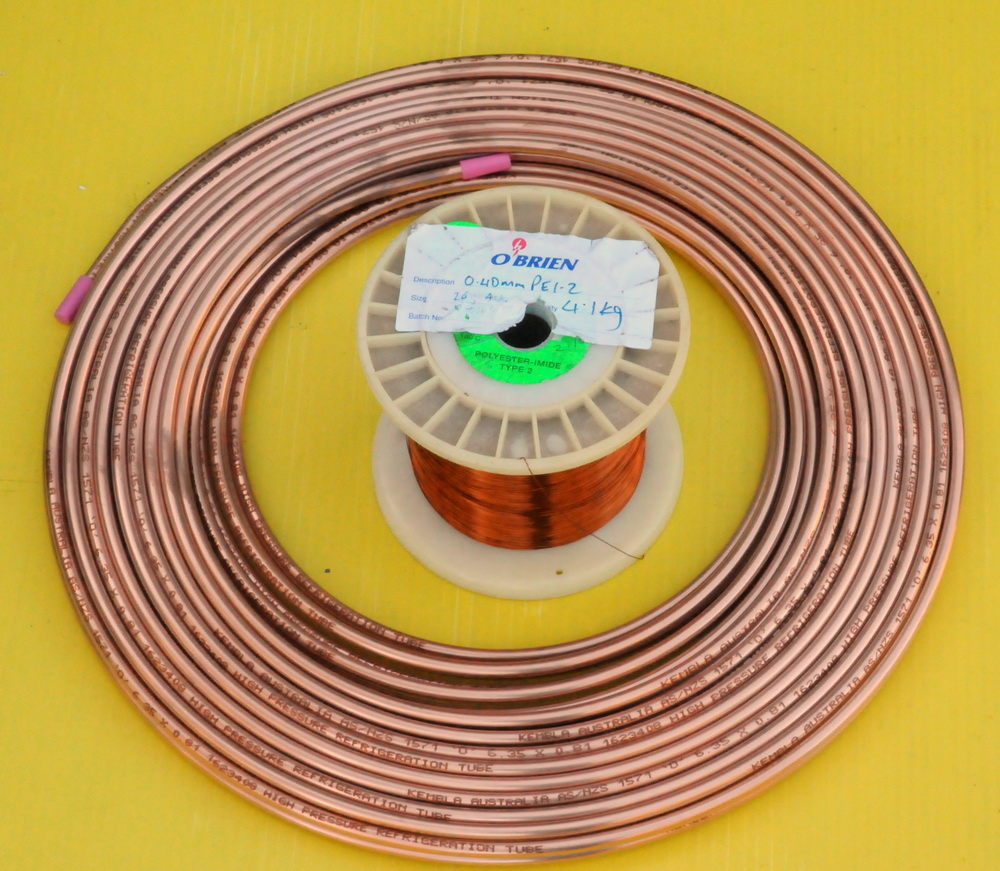
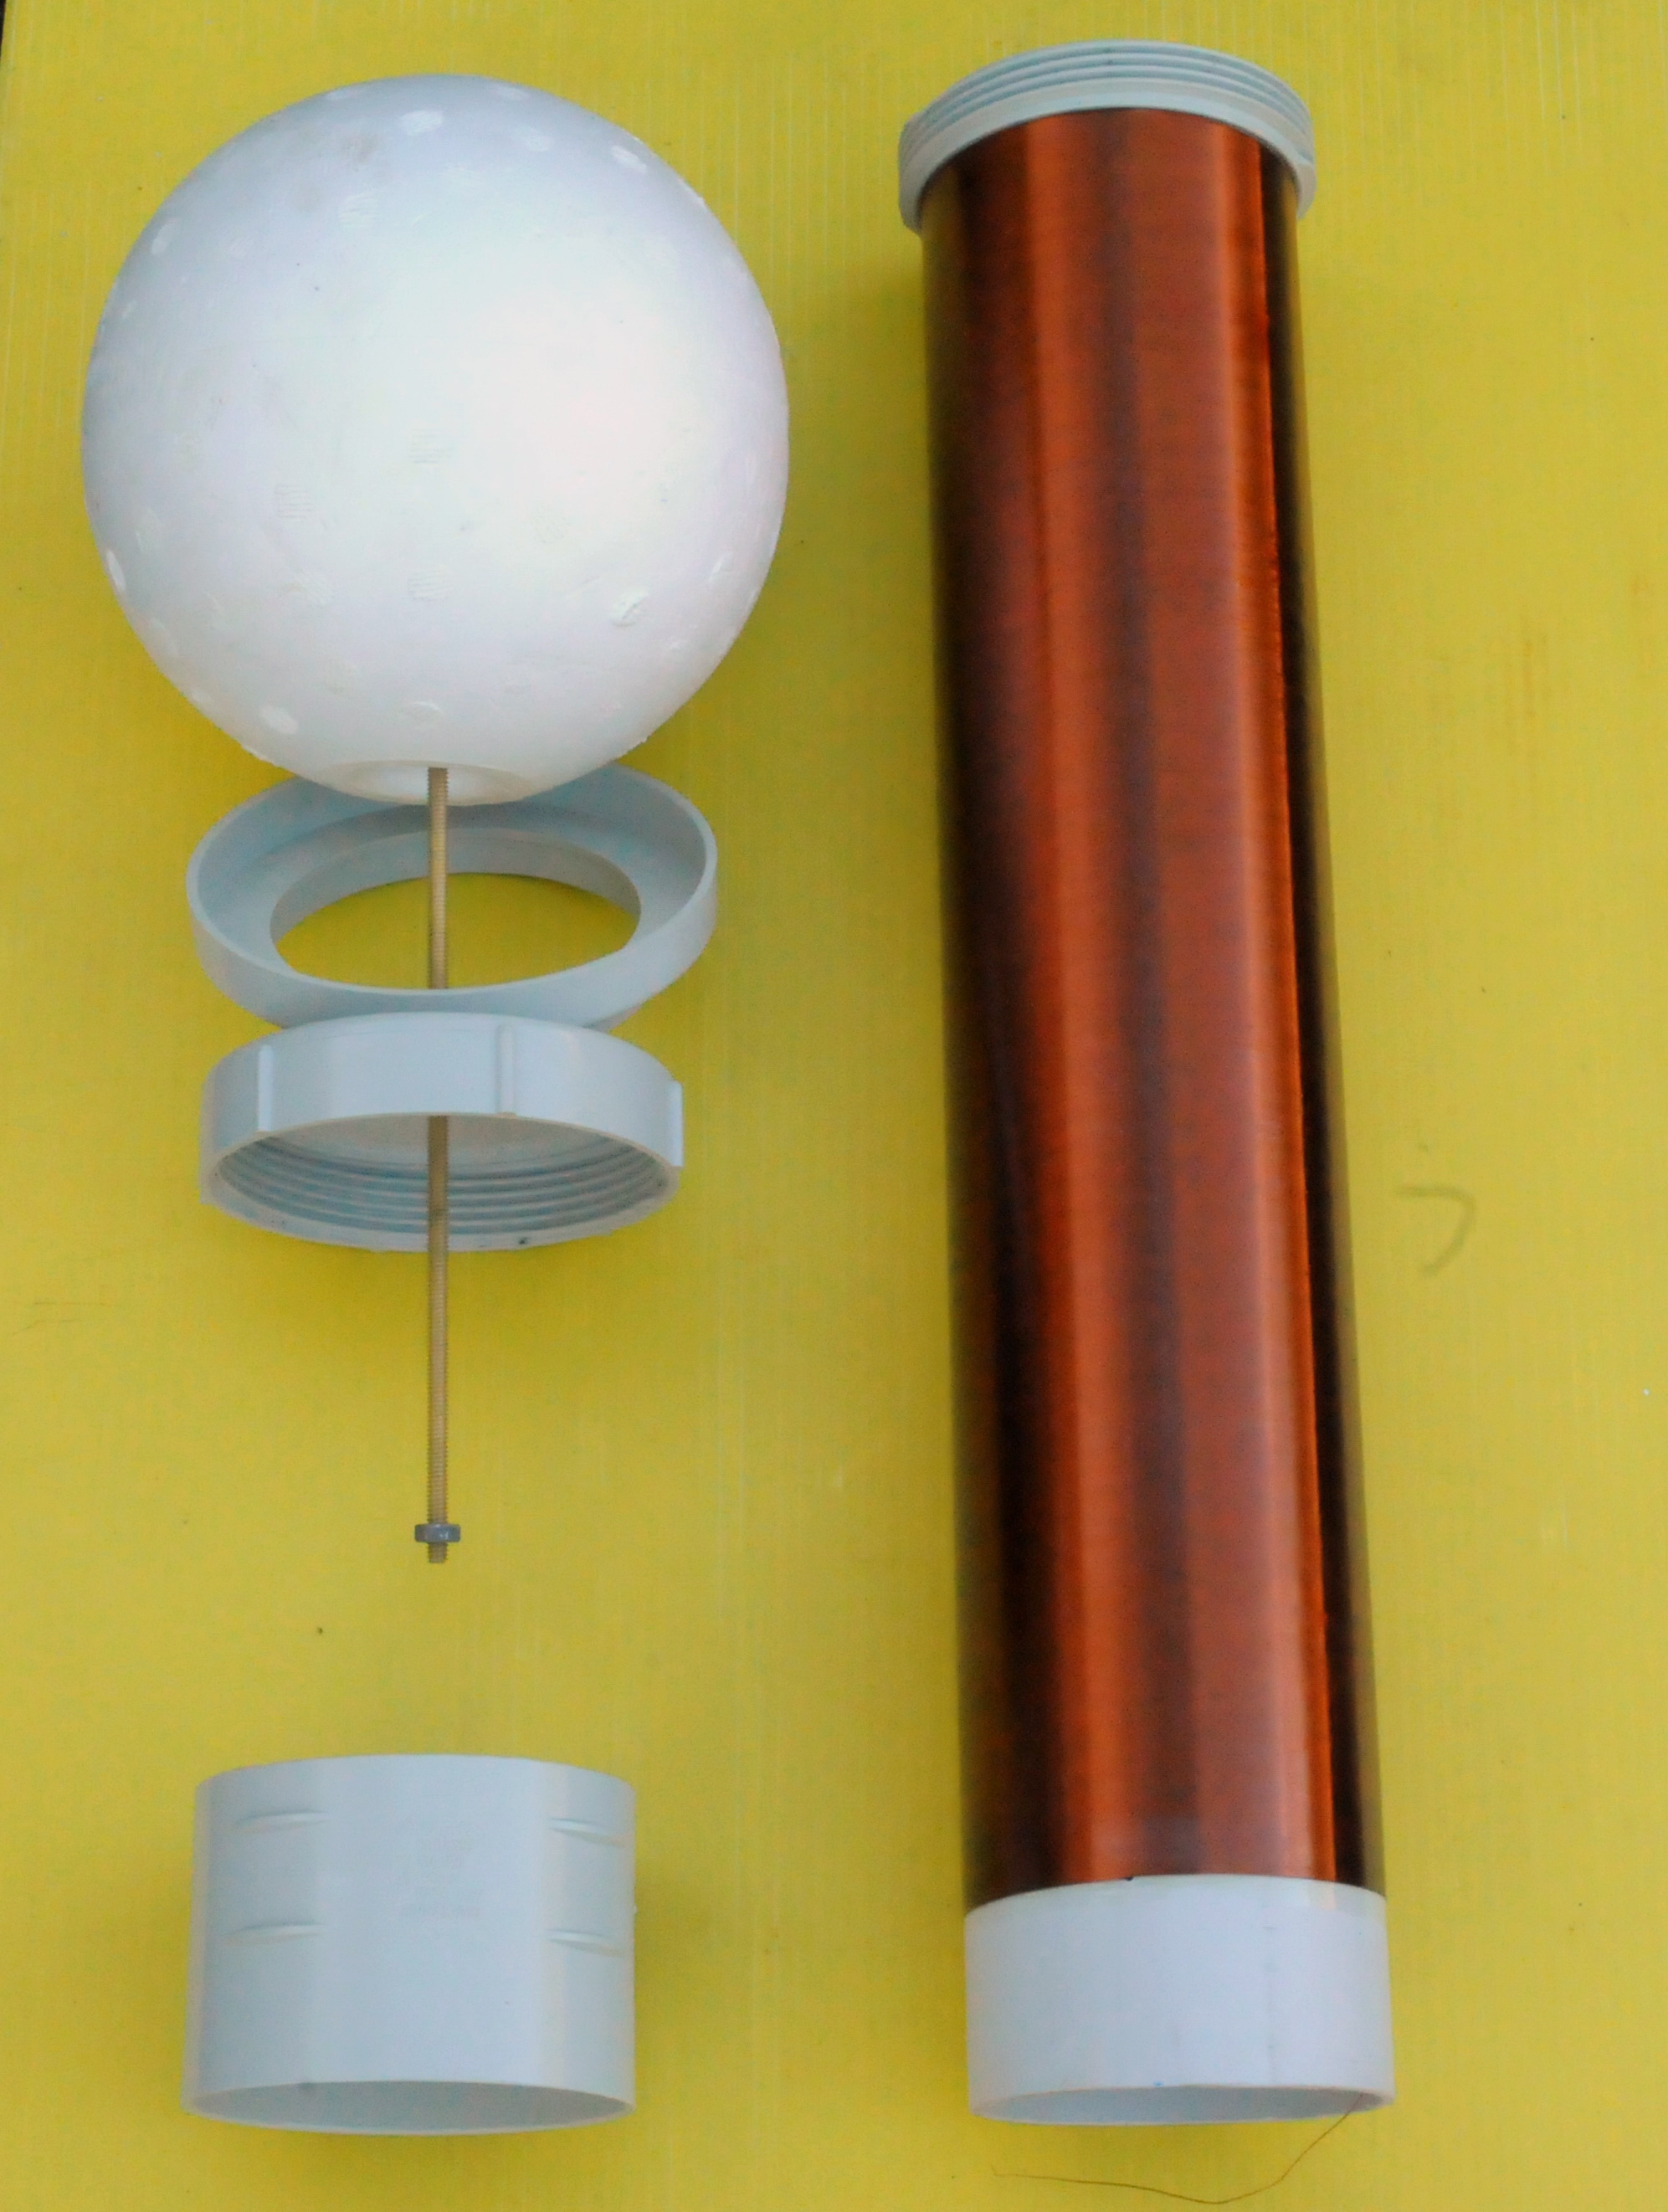
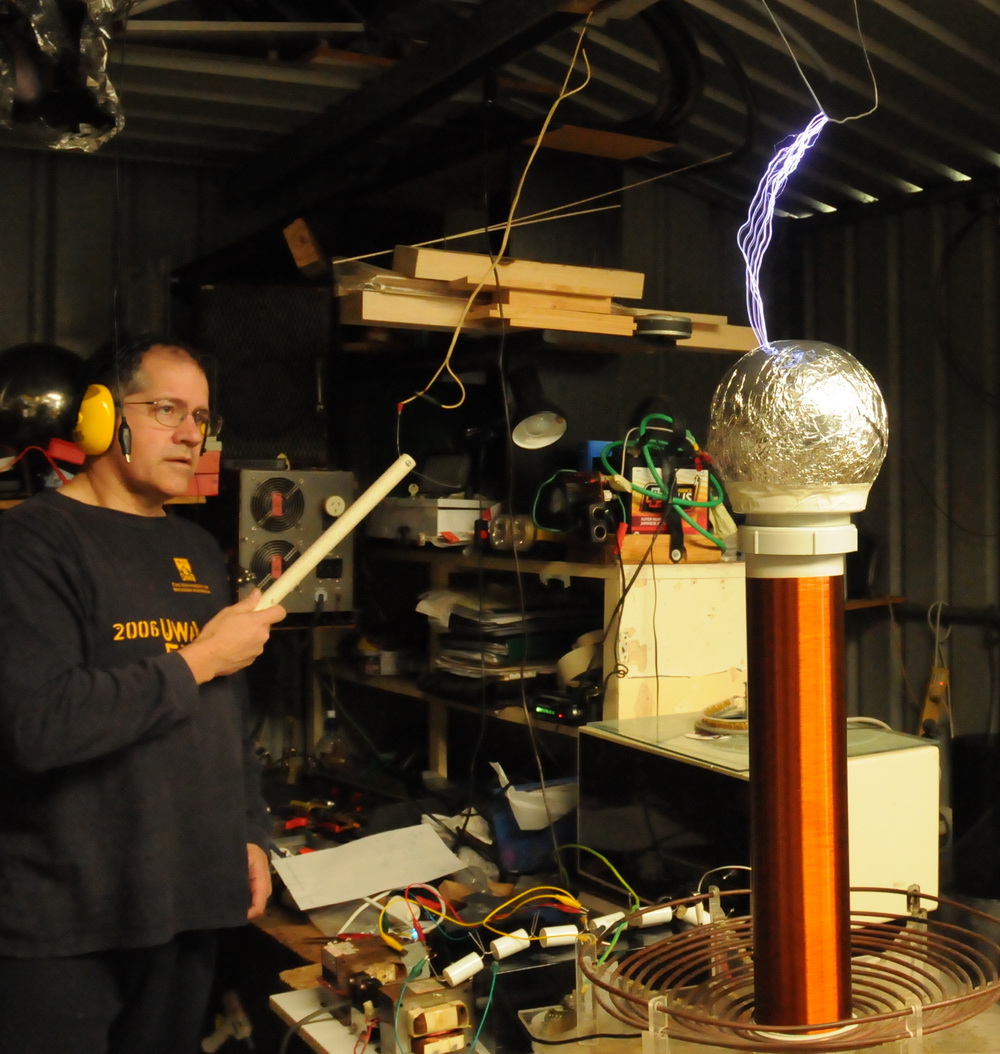
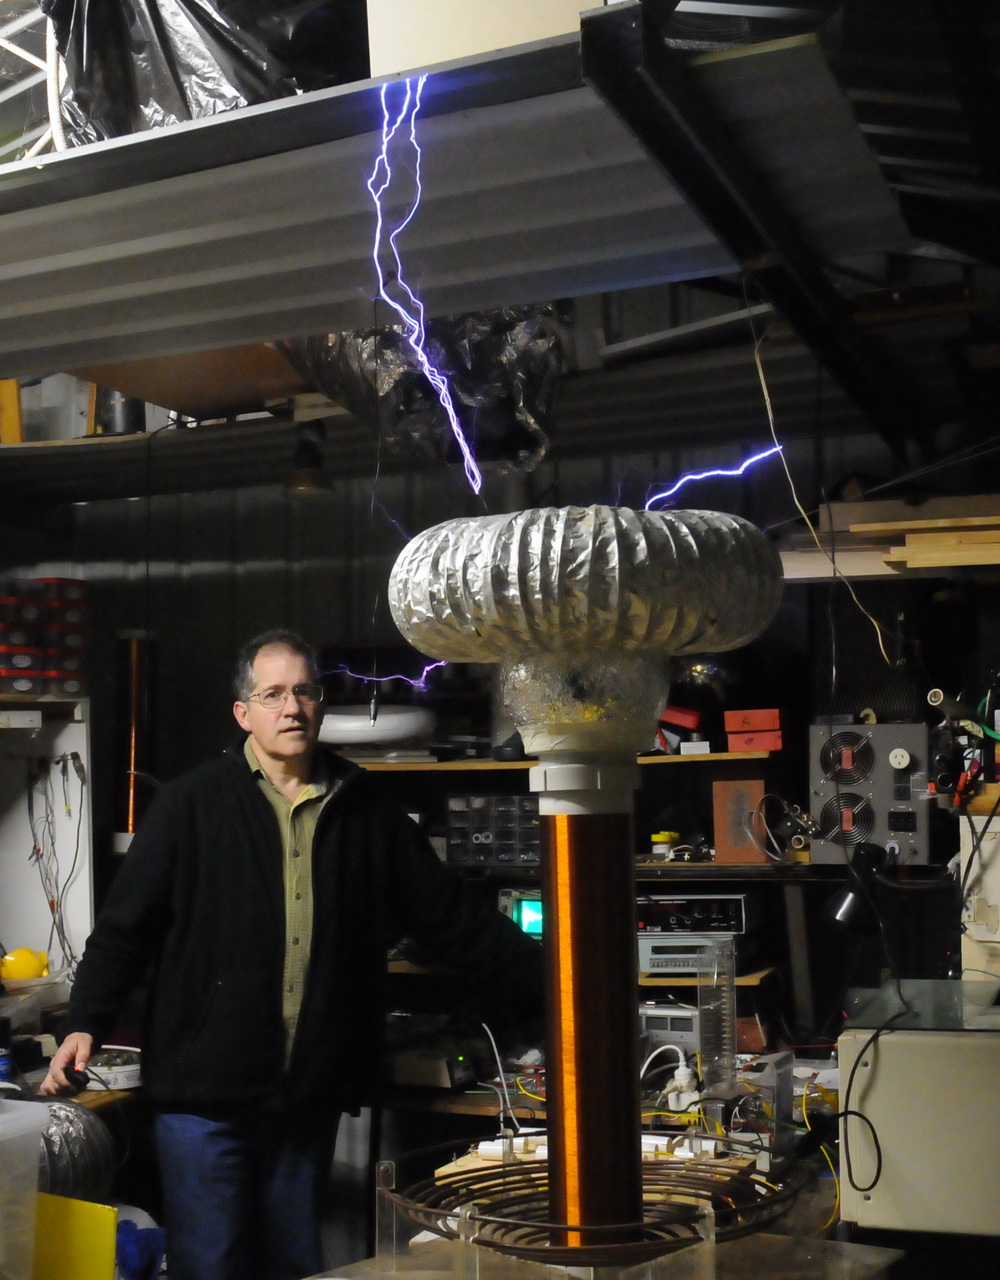
Above shows the 1/4 inch refrigeration tubing used to make the primary and the fine polyimide coated high temperature magnet wire for the secondary. The temporary 8 inch plastic float is coated with aluminum foil and is assembled with some PVC connection and screws on the end of the secondary. I am trying to keep this relatively easy to dismantle for travel and repairs.
The primary coil above is unconventional as I am using a cylindrical coil rather than a flat helical one. It was wound in minutes, is easily spaced and tapping is with fuse holders and heavy flexible multi strand wire. I can tap both ends. Once I get the best results by adjusting the number of turns, I then go up or down with the same number of turns. This adjusts the coupling to further optimize the spark length. I must admit this is a lot more adjustable, faster to wind and more compact than a helical coil. Most spark gap coils use a helical primary and most solid state coils use a cylindrical one as they work better with higher coupling.
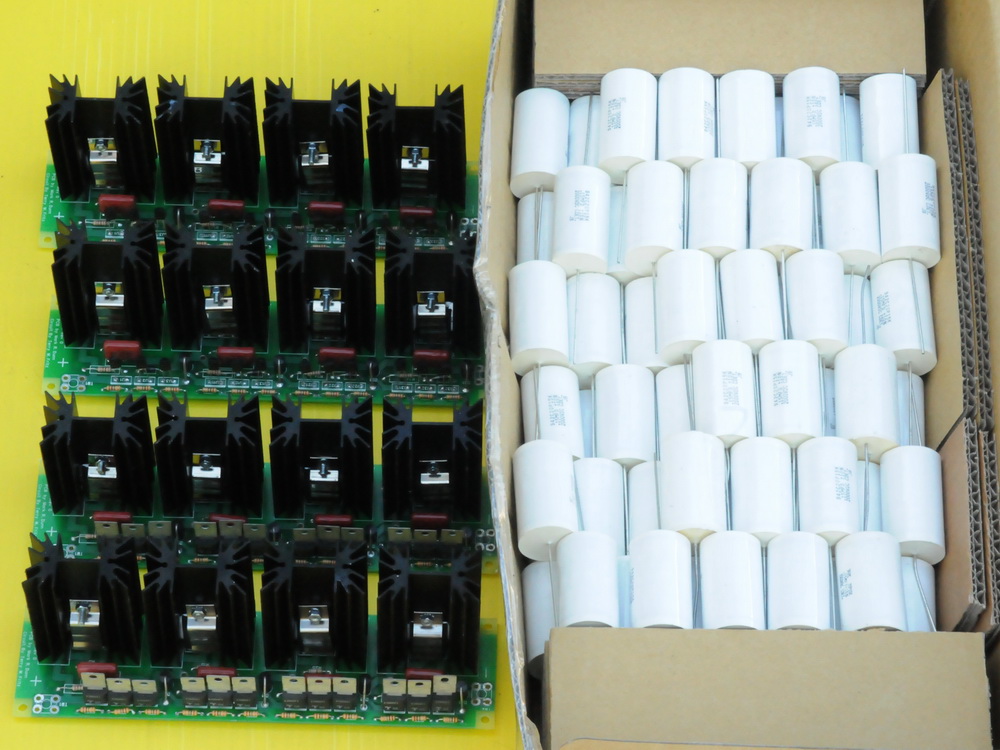


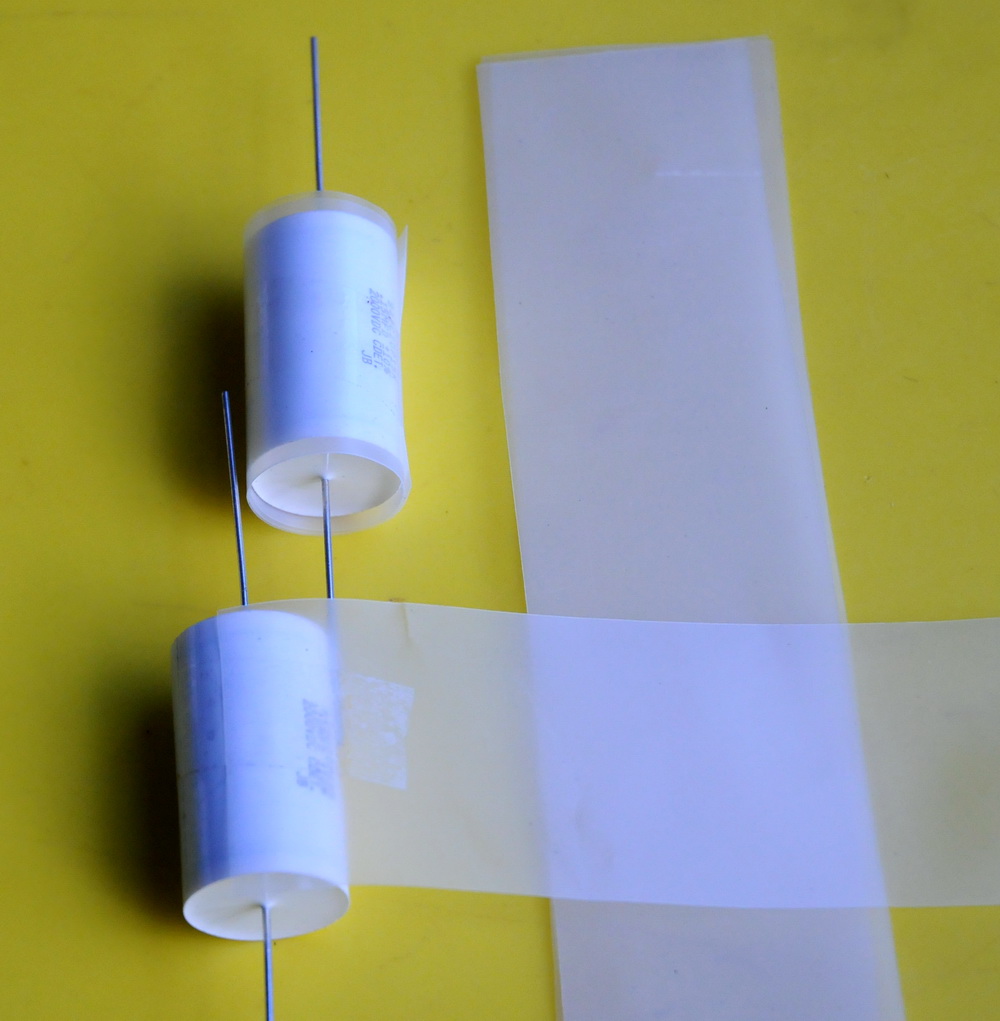

Above shows the 80 capacitors in 8 strings of 10. The capacitors for this voltage multiplier set up need to be center tapped. As I am not expecting a significant temperature rise and needed them to be very compact I individually wrapped 3 layers of polyethylene around each of the 80 caps so they could be touching and still stand off a maximum of 4kV between them. So far so good. I am only using 60 caps at present. I am not using resistors across each cap or even across the whole bank as the voltage in circuit decays in about 5 seconds.
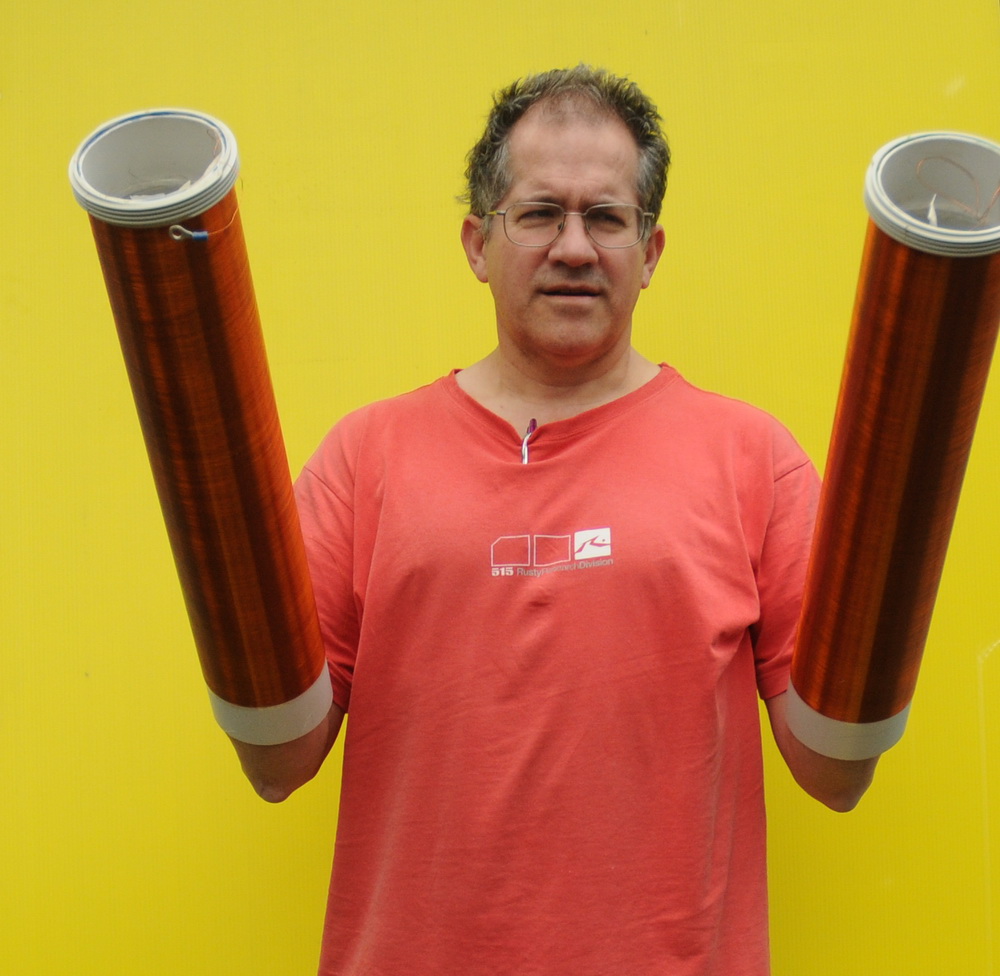
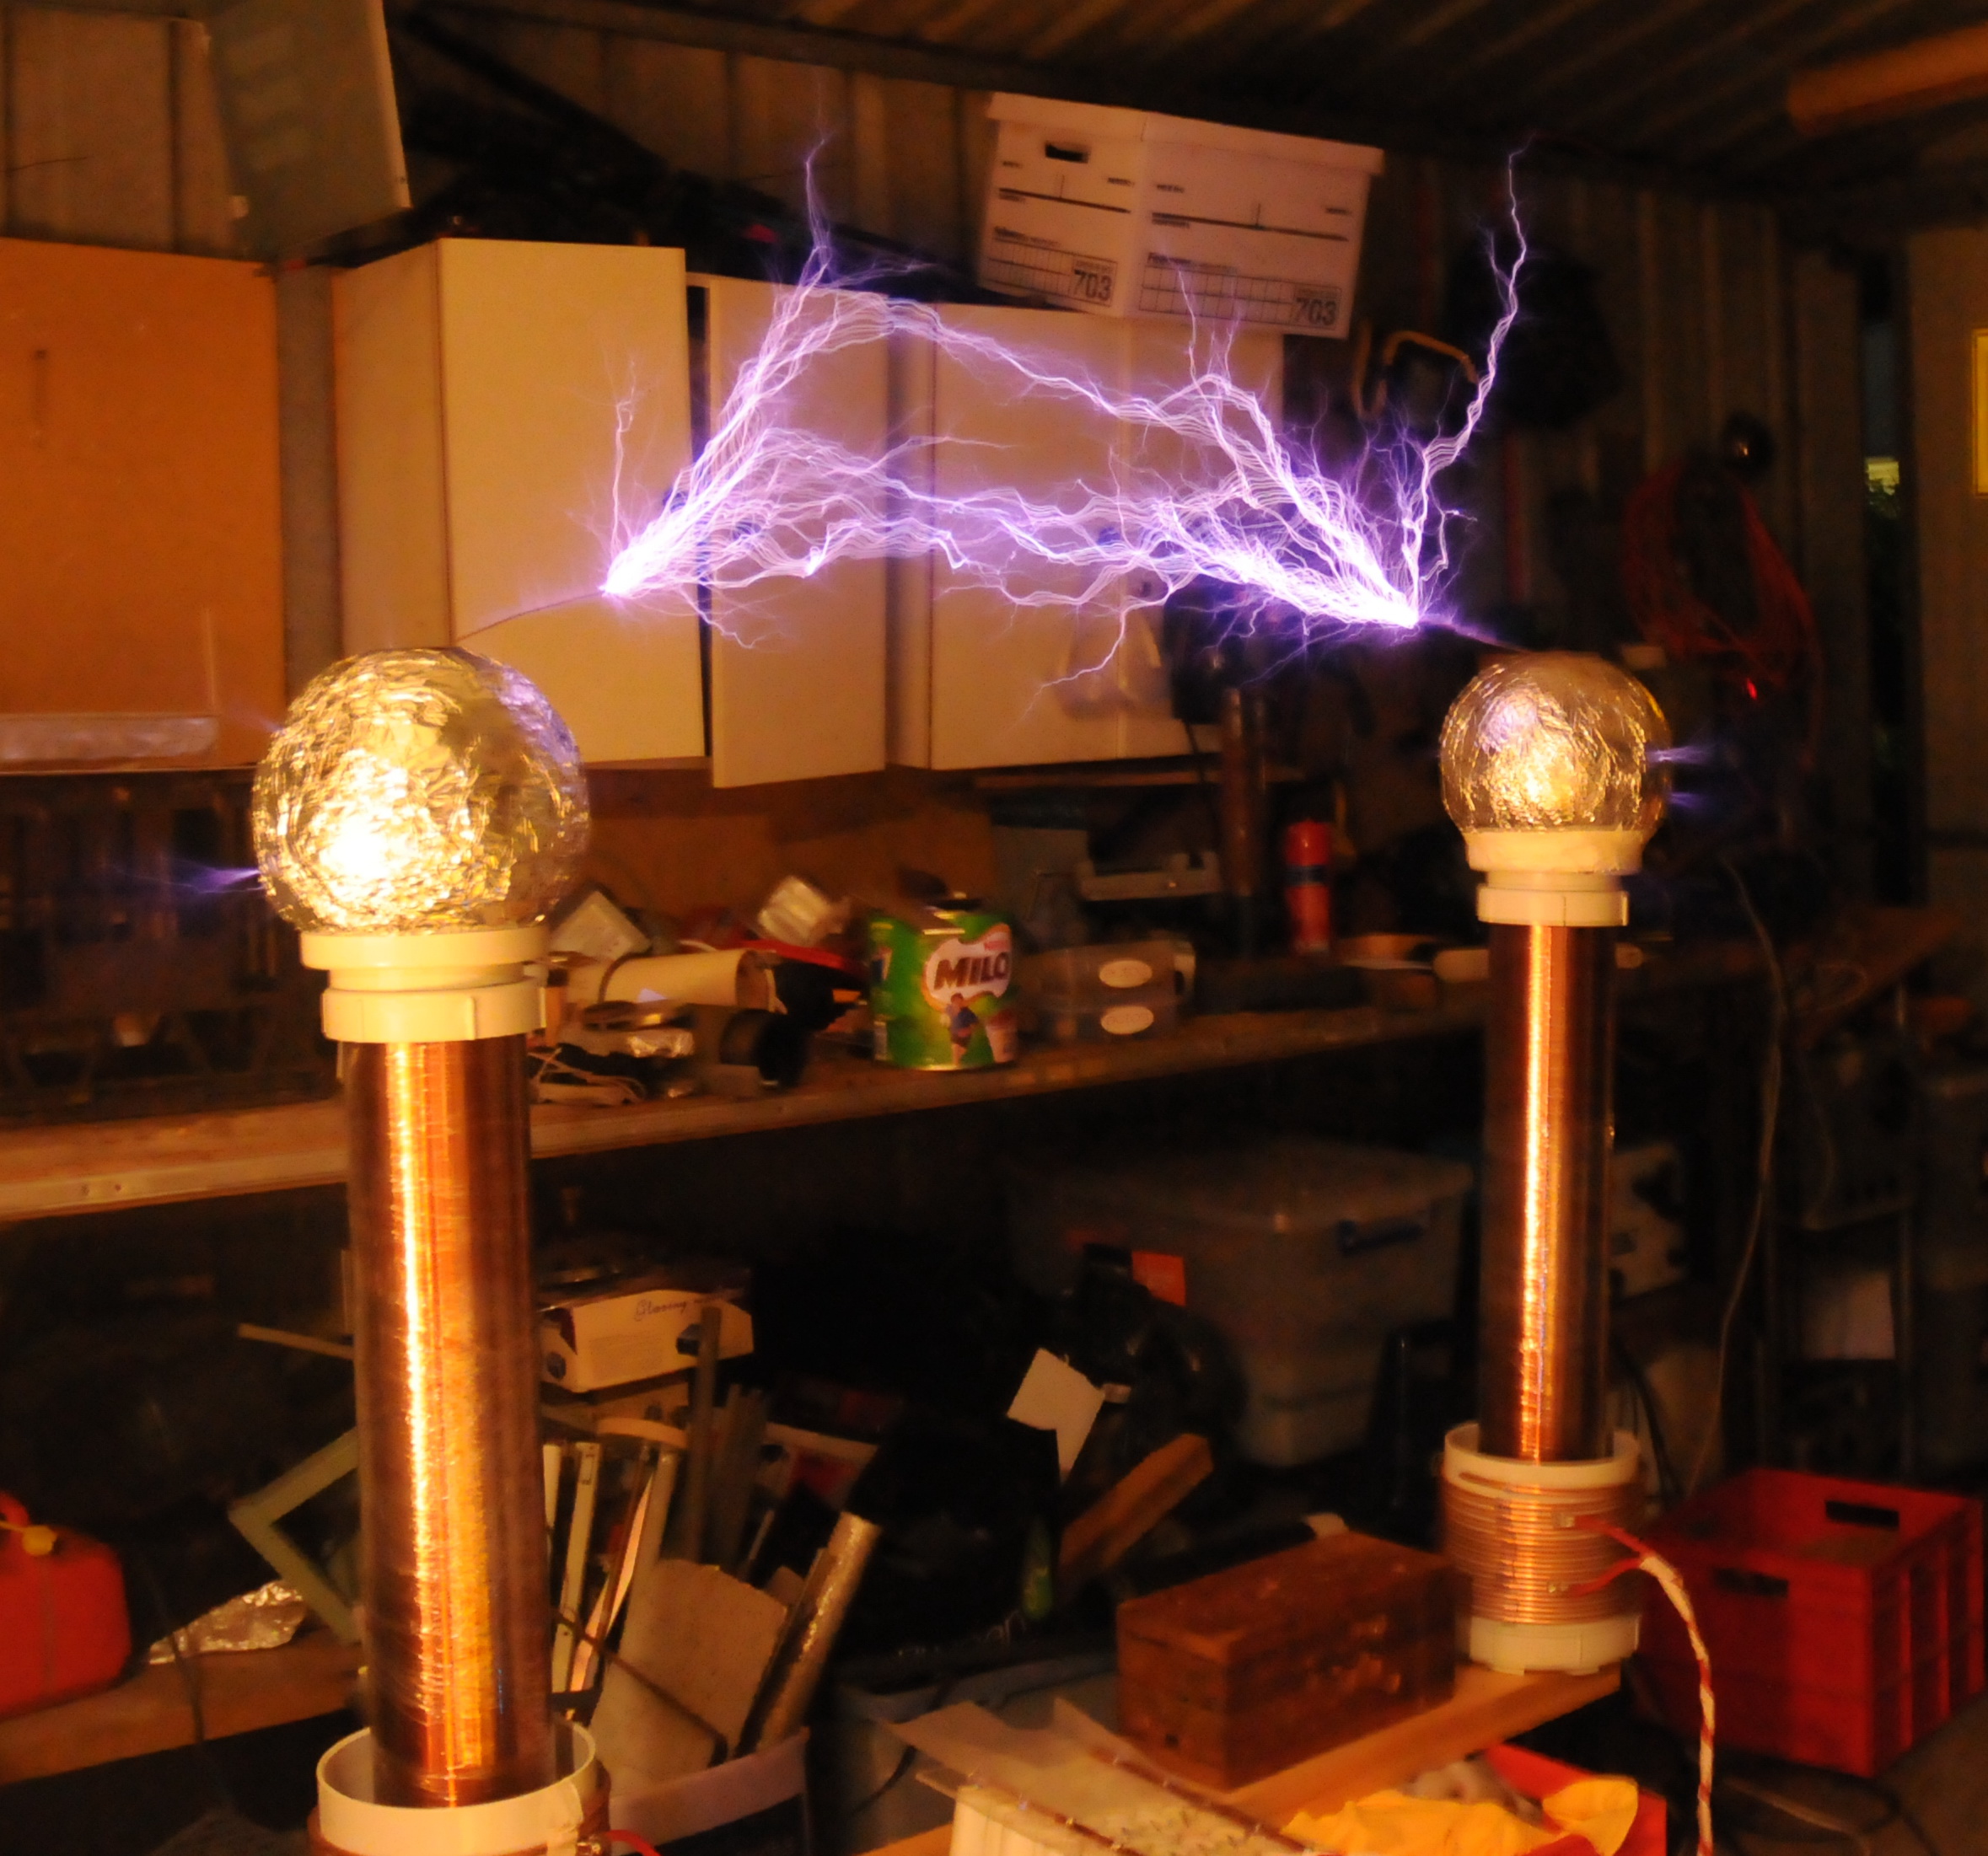
Above are the twins in action. Currently giving about 80 cm sparks between the coils. Still not fully optimized and hope to get 100 cm. Sparks are purplish rather than bright white due to the relatively low capacitance of the spherical topload.
http://drsstc.com/~sisg/SISG.pdf Terry Fritz's write up of the first single MOT SISG system. This system generates 30 inch sparks but would be better optimized with a lower resonant frequency and bigger toroid
http://drsstc.com/~sisg/files/BigSISGCoil/ Lots of SISG related files from Terry Fritz.
http://deanostoybox.com/hot-streamer/temp/PRIANHA-III-too-early.gif The circuit diagram of the 2 MOT Piranha system.
http://www.teslaboys.com/SISG/SISG4BOM.pdf Parts list for 1 board
.http://www.classictesla.com/photos/sisg/sisg.html Bart Anderson's SISG coil
This page was last updated April 09, 2011