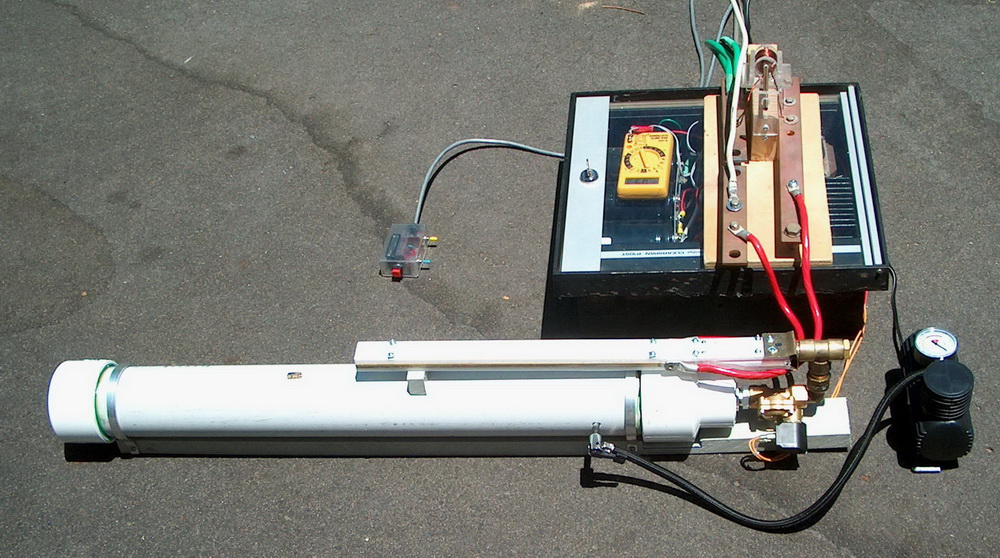
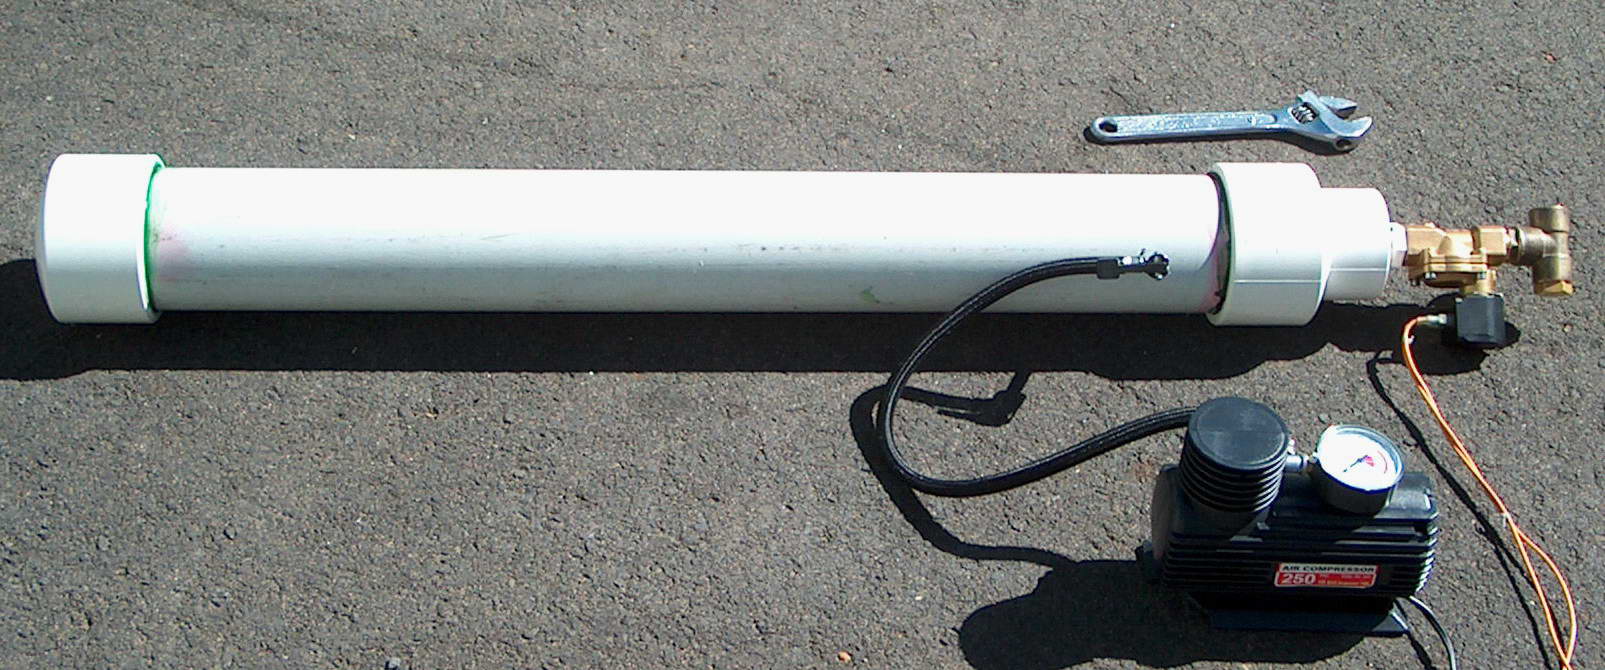
Railgun 2 uses a pressurized air injector system with a fast opening 230 V 7 W solenoid operated high pressure valve (16 bar) and is connected to a 24 x 4 inch heavy PVC ‘tank’.
“Continue reading” for more details and photos.
This has been tested to a pressure of 8 bar = 120 psi (pounds per square inch) and seems to hold its pressure well. It is constructed from schedule 12 (12 bar) pipe and schedule 18 (18 bar) fittings so should be within tolerance. The weak spot where the compressor valve enters is reinforced internally. I have used P type PVC glue with methylethyl ketone primer for a higher pressure rating. It gives a satisfying blast of air when activated.
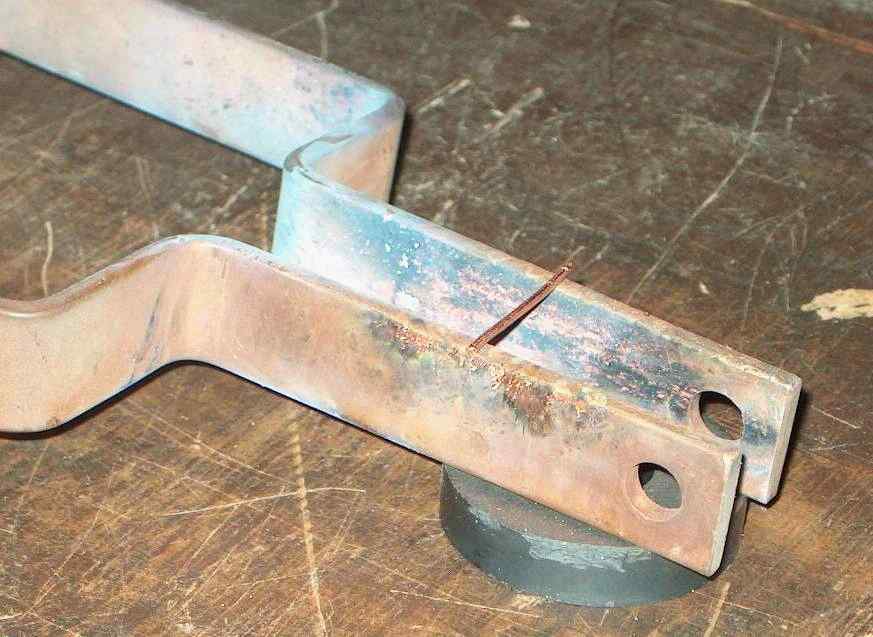
The rails are constructed from brass bar and teflon strips of about 18 inches. The first 4 inches or so has polycarbonate insulator for the rails to allow the air to give it some velocity before being electrically accelerated.
The left photo shows the air injector system with compressor and the right photo shows the rail internals.
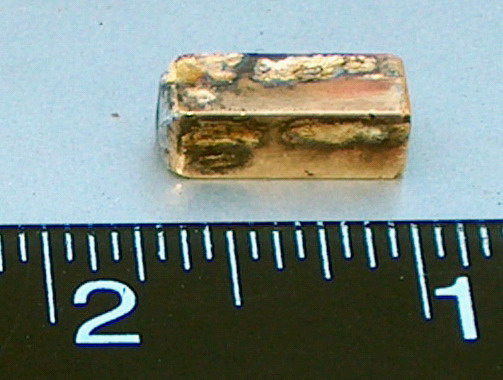
The completed railgun and the projectile after a few firings (ruler in inches).
The railgun is powered by 4700 uF at 800 V and switch on is by the projectile making contact with the rails. ( I am not using the SCR switching for this). I have used a coil in series to limit the initial current flow but it is clear from the flash seen through the teflon that this is still only occurring in the first few inches or so. I would probably be better off rearranging the caps to give 18,800 uF at 400 V
The projectile is brass square tube filled with solder (probably has as much lead as a small bullet). It will drop through the railgun if vertical. It is breech loaded through a T piece. After firing it is hot but still able to be touched. At present it fires although how much is due to the air pressure alone is unclear. I have been shooting into a soft target (so I can recover my projectile).
To measure velocities, I need to set up the ballistic pendulum and work out the maths to get results with and without the power applied. Unlike the coilgun, care needs to be taken that the pendulum is not just being blown by the flow of air from the muzzle which means it has to be a longer distance away and be set up outside my shed. Velocity measurement is a problem particularly as optical devices can get falsely triggered by the muzzle flash.
Since I finished it I have now got graphite powder as a lubricant and also a storage oscilloscope which should enable me to measure peak currents and record them. I also have a couple of hockey puck SCR’s rated at 1700 A as potential replacements so I can push my present SCR harder and not worry if I blow it.
Future plans
My big cap bank can drive 100 kA into a railgun but this would require a significant upgrade and would need a chronometer to measure velocities. An inductor might be needed to slow the rate of current rise or I could rely on a plasma armature effect.
Related pages
Try something else
External links
Photo Date: 2004


 Railgun 1