My second (successful) attempt at a transverse excited atmospheric pressure (TEA) nitrogen laser and why it worked.
“Continue reading” for more details and 10 photos.
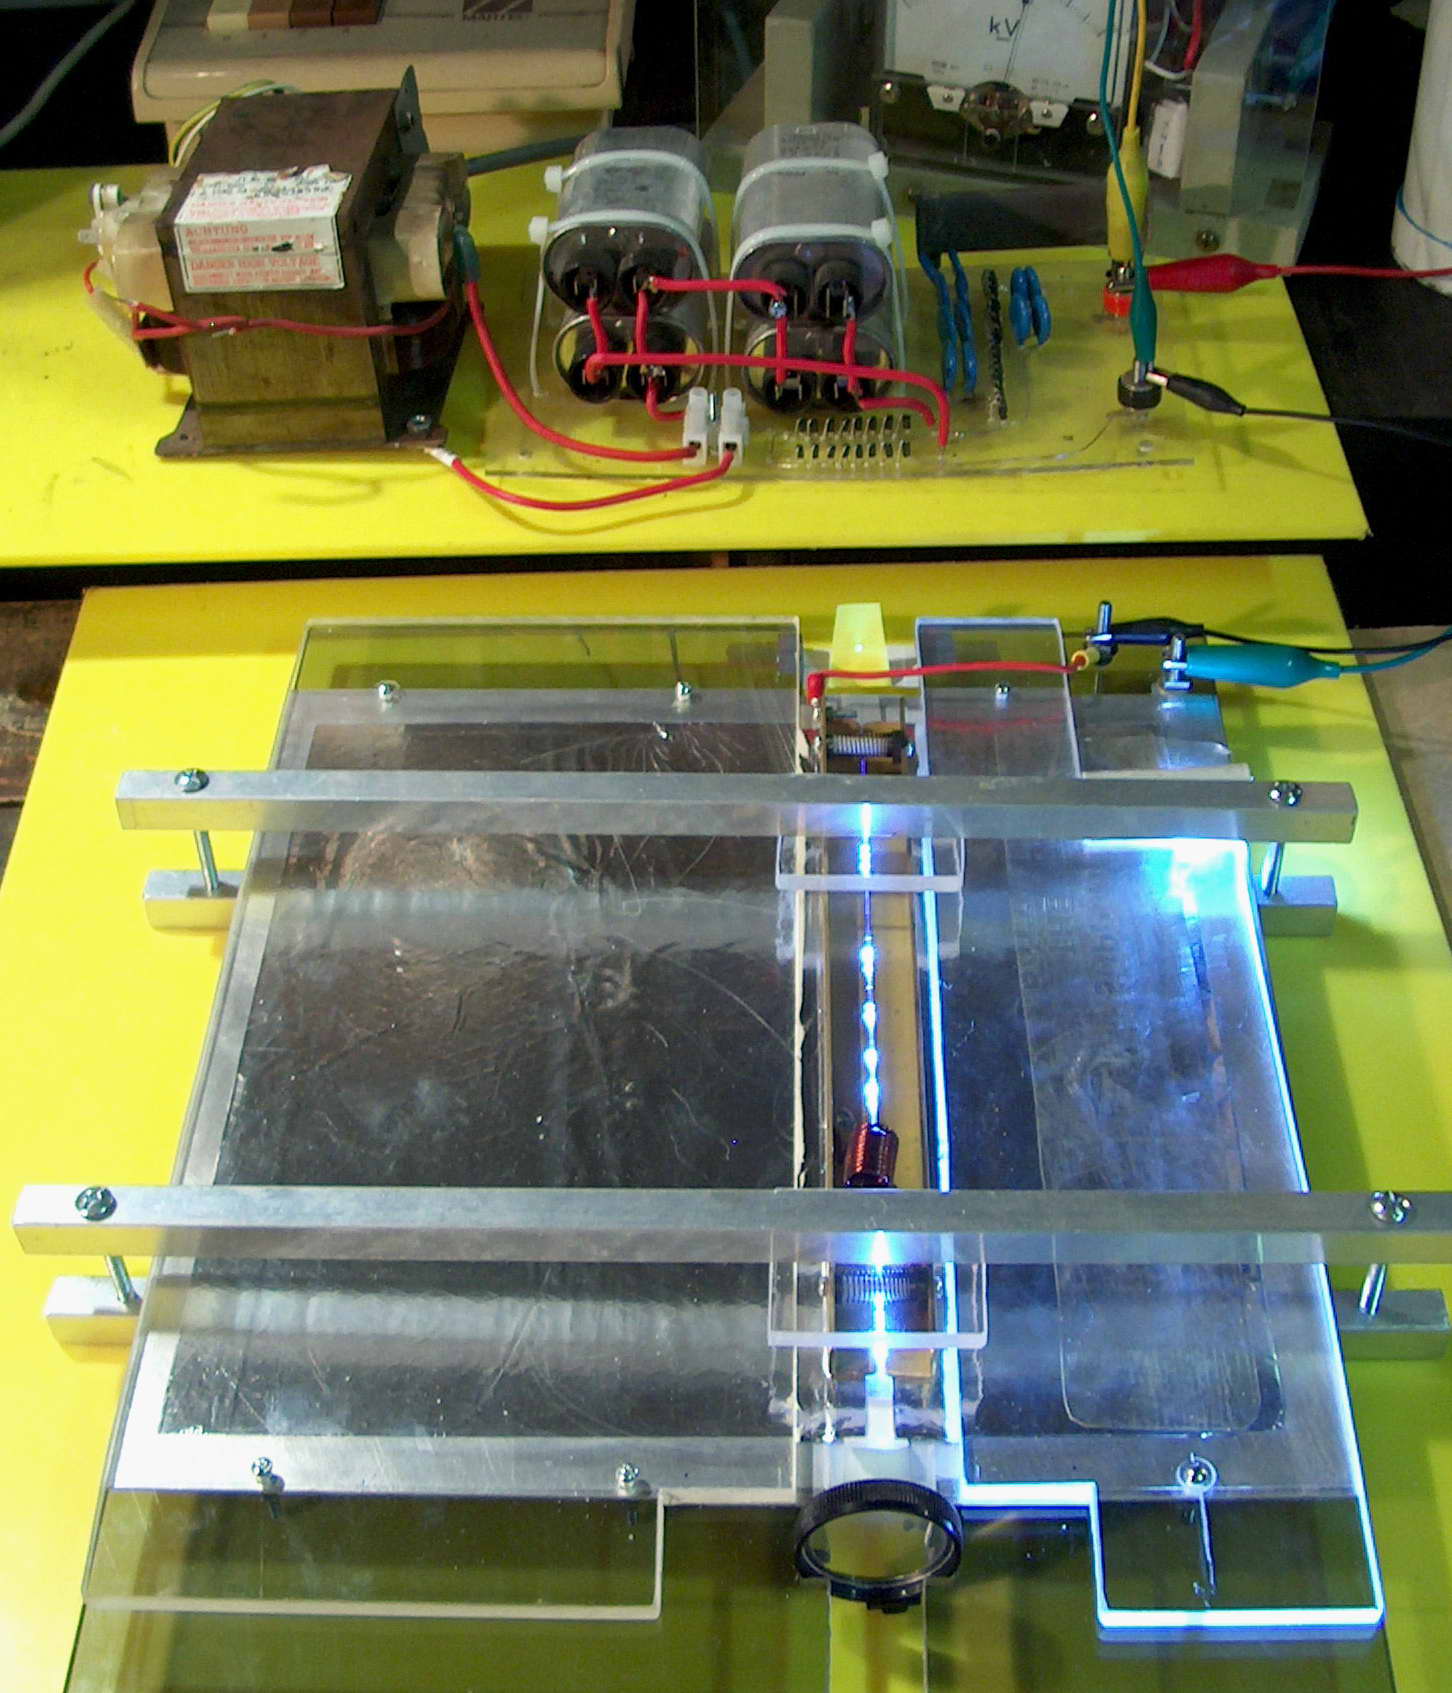
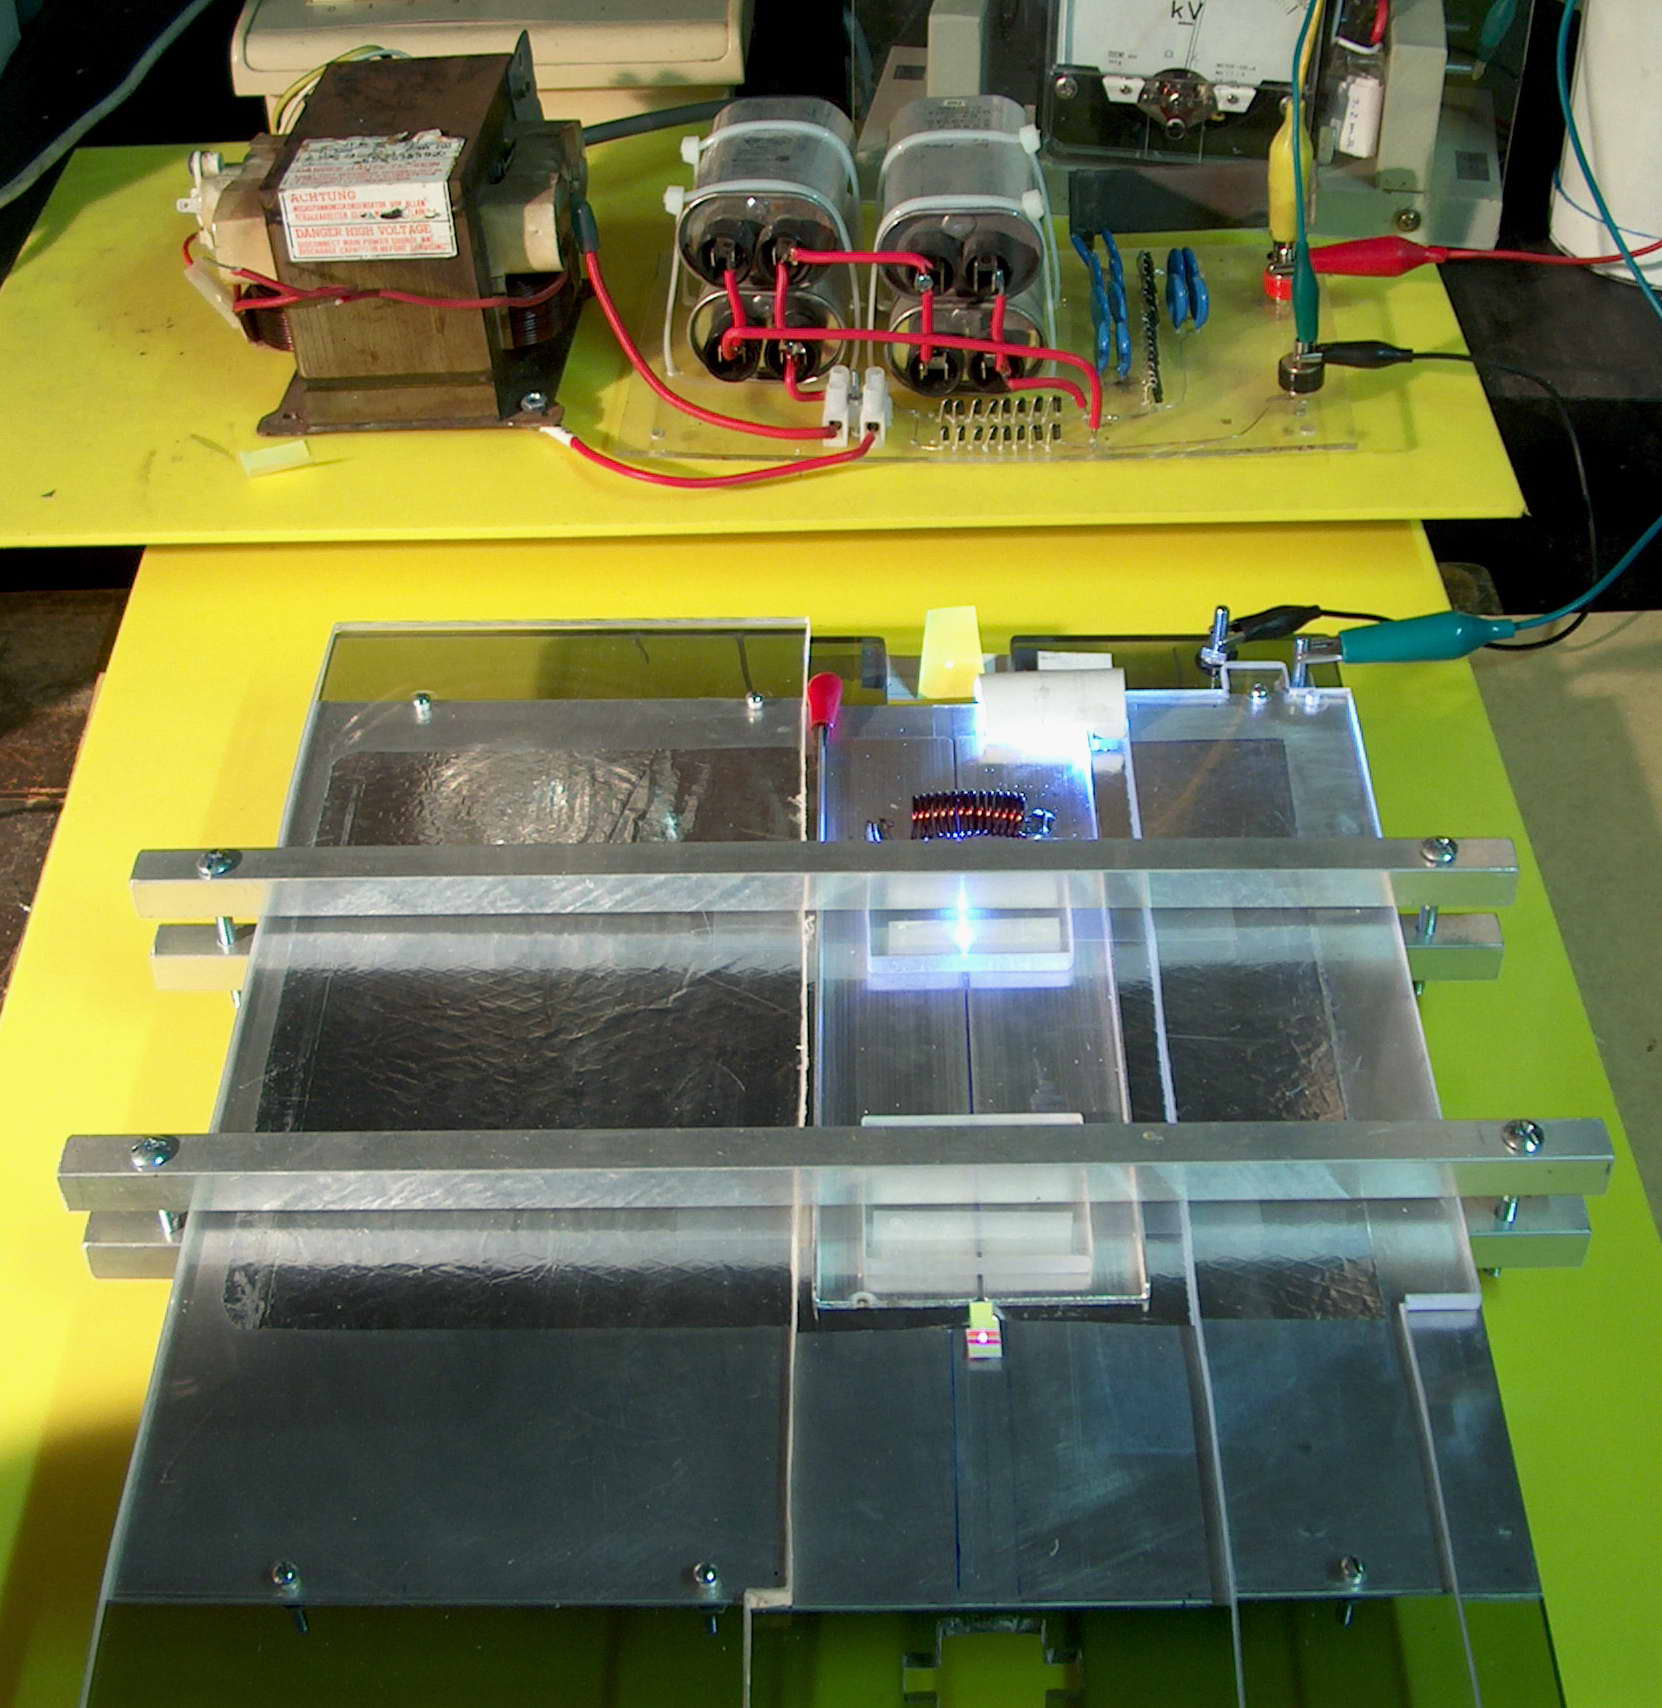
Success with nitrogen laser 2! The little green dot in the photos below say it all.
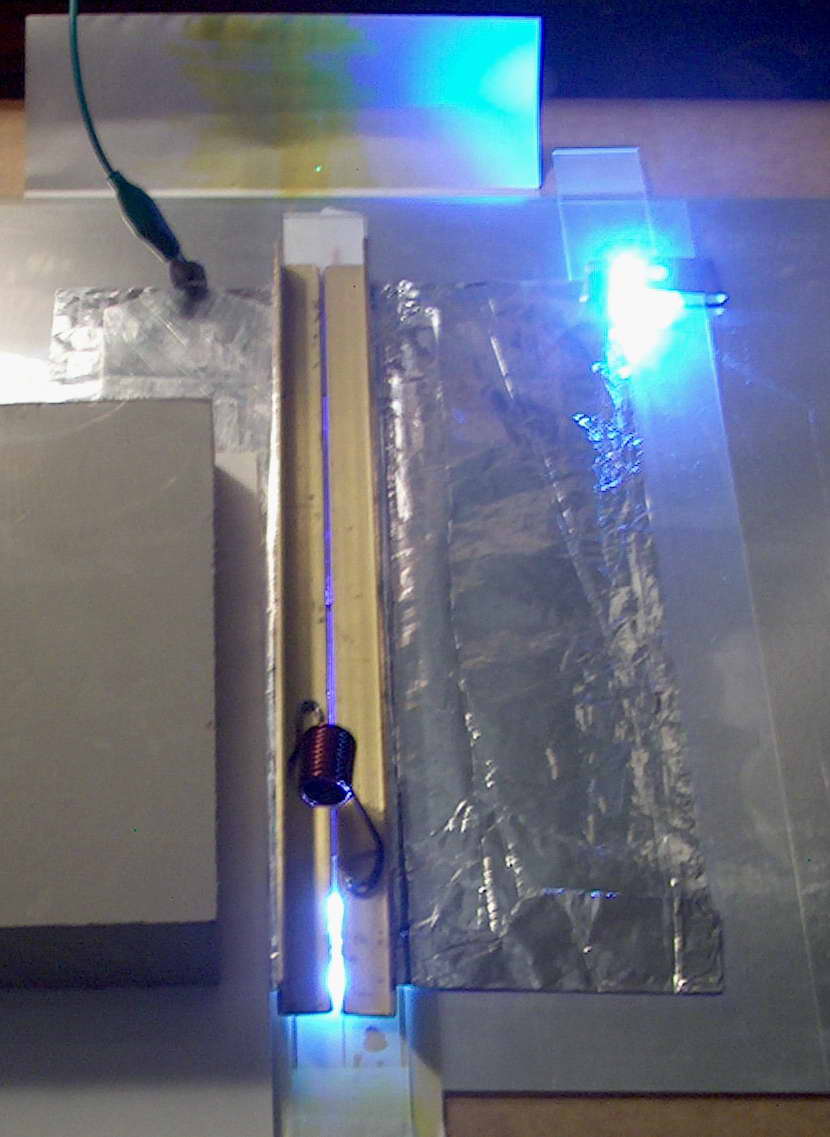
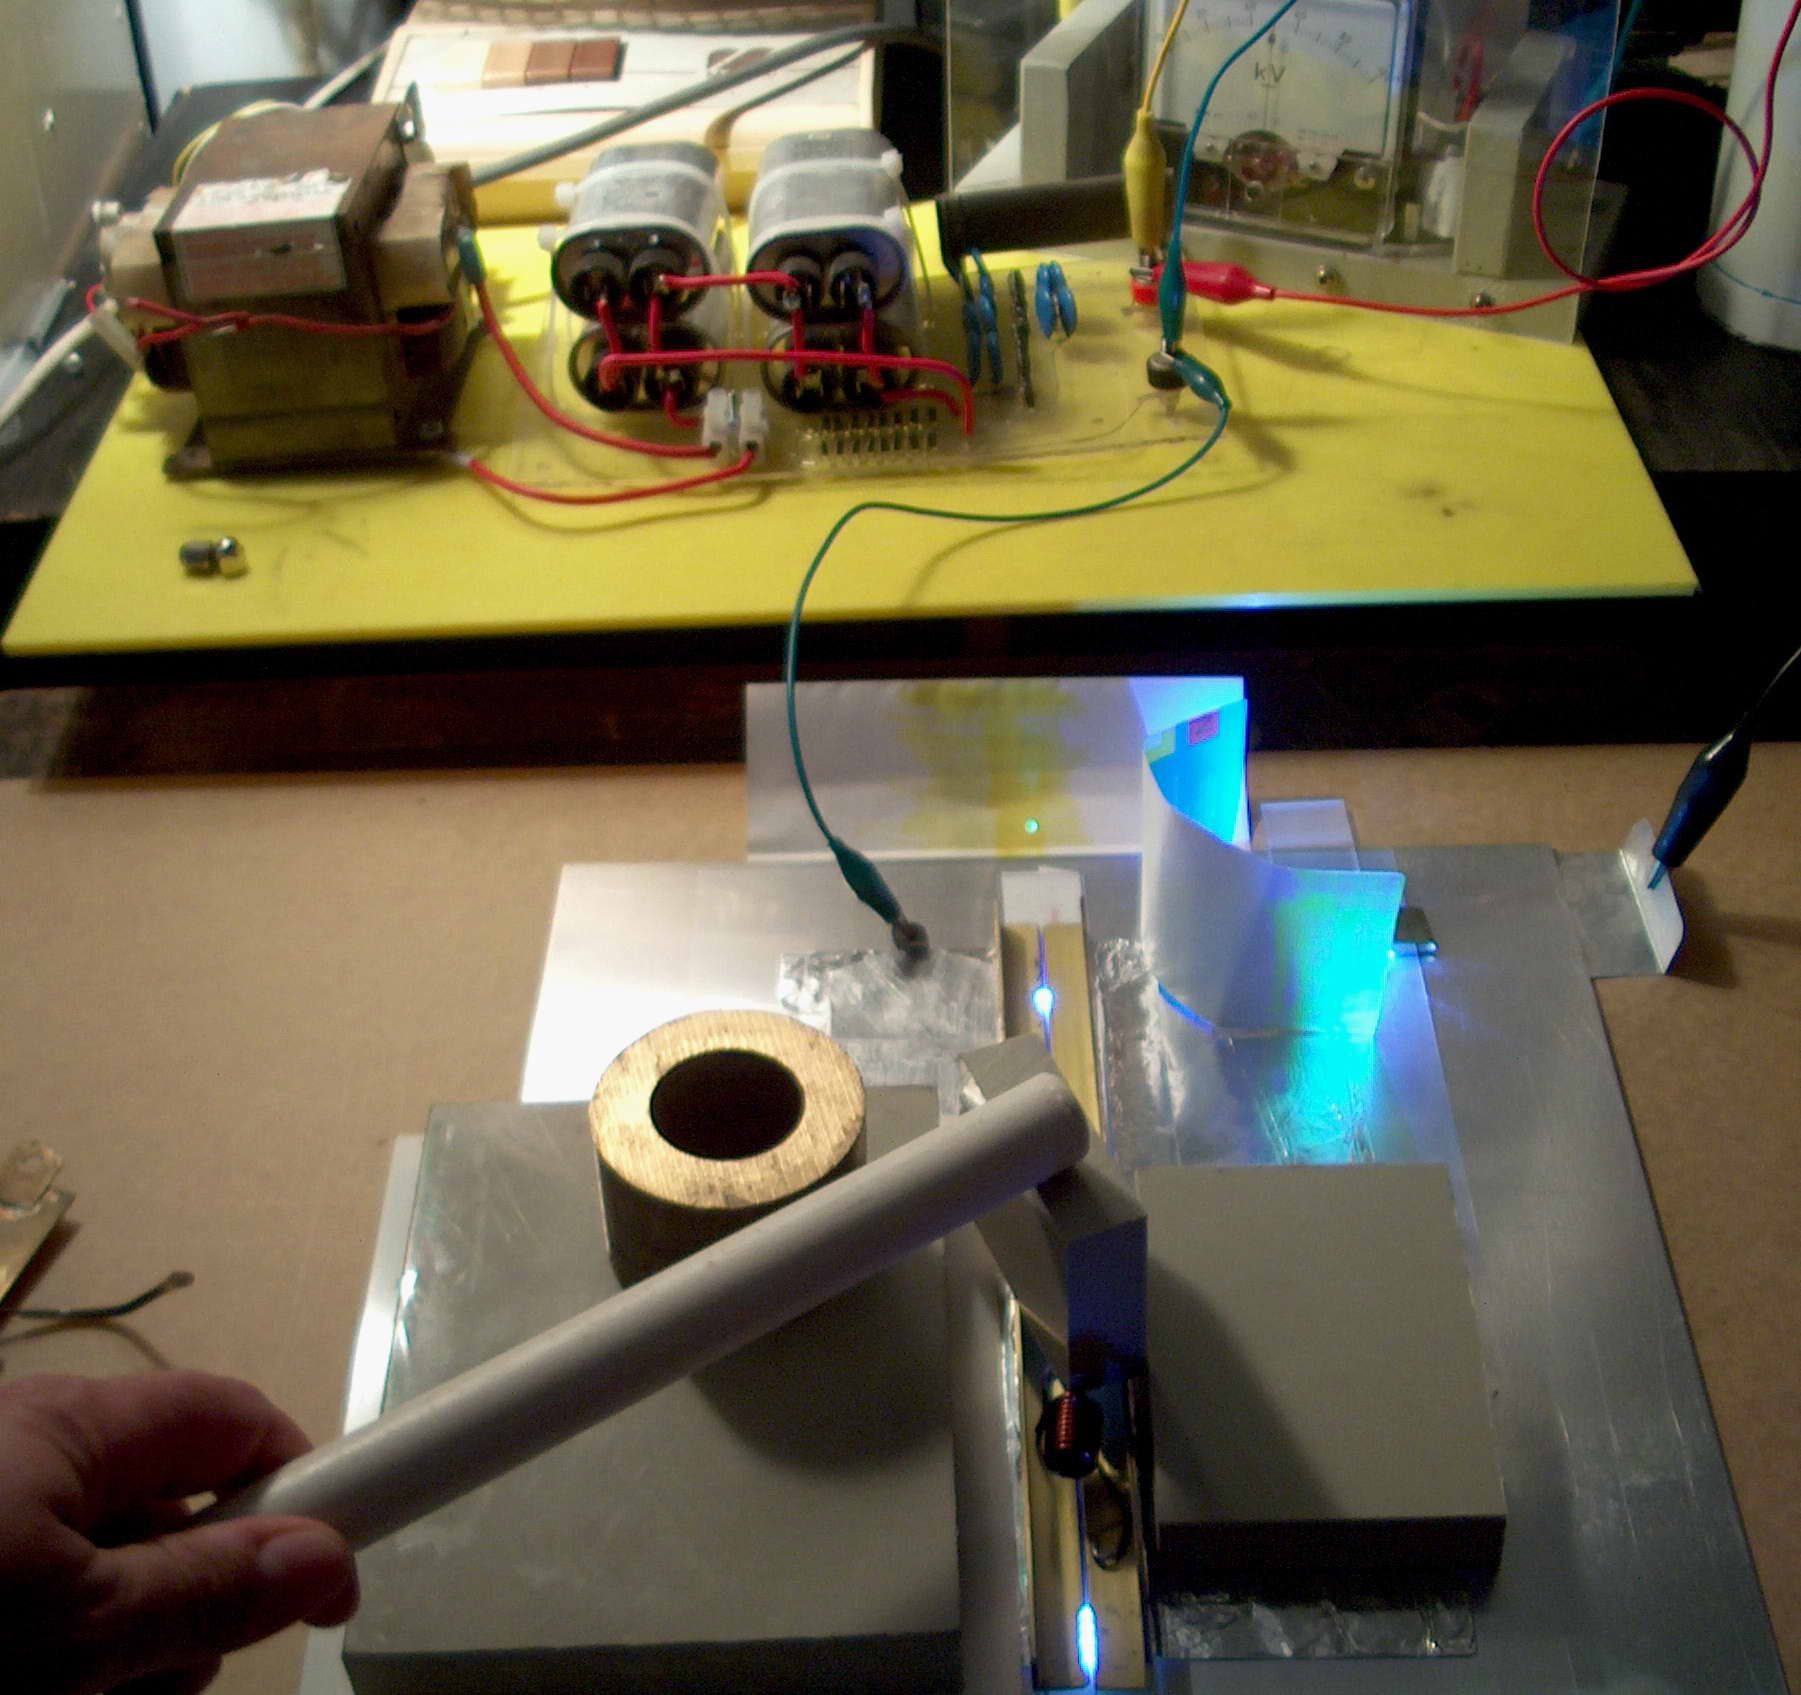 The upper photo is a clearer shot of the set-up without the weights that press the capacitor plates together. It is extremely simple but the devil is in the details.
I had gone back and re read everything I could on the net and as usual it was all there. For the successful model above I made the following changes:
The dielectric was changed from 8 mil (0.2 mm) polyethylene to thinner overhead projection photocopy transparency which is 4 mils (0.1 mm). This is nice and uniform plastic that is rated for photocopy temperatures which is a lot more expensive than usual transparency plastic at about AUD$1 per sheet but I happened to have a box of 50.
My spark gap is about 1mm and runs on 4.5 kV which gives a repetition rate of a few Hz only. Running it at 6 kV at a faster repetition rate helps to a degree.
The capacitor plates are 3.5 x 9 inches (9 x 22 cm) and are made of aluminium foil pressed down with weights. The capacitor (both upper vs single lower) measures 10.6nF. This is twice the capacitance in perhaps 1/4 the area and would have much lower self inductance than the previous model.
The TEA laser gap is made from brass angle set for about 1 mm and is a bit asymmetrical. There is no step up forming a partial turn of a coil with its associated inductance as on the previous model.
I have lined microscope slides under all spark gaps to protect the dielectric but at the lower powers I am using they may not be necessary.
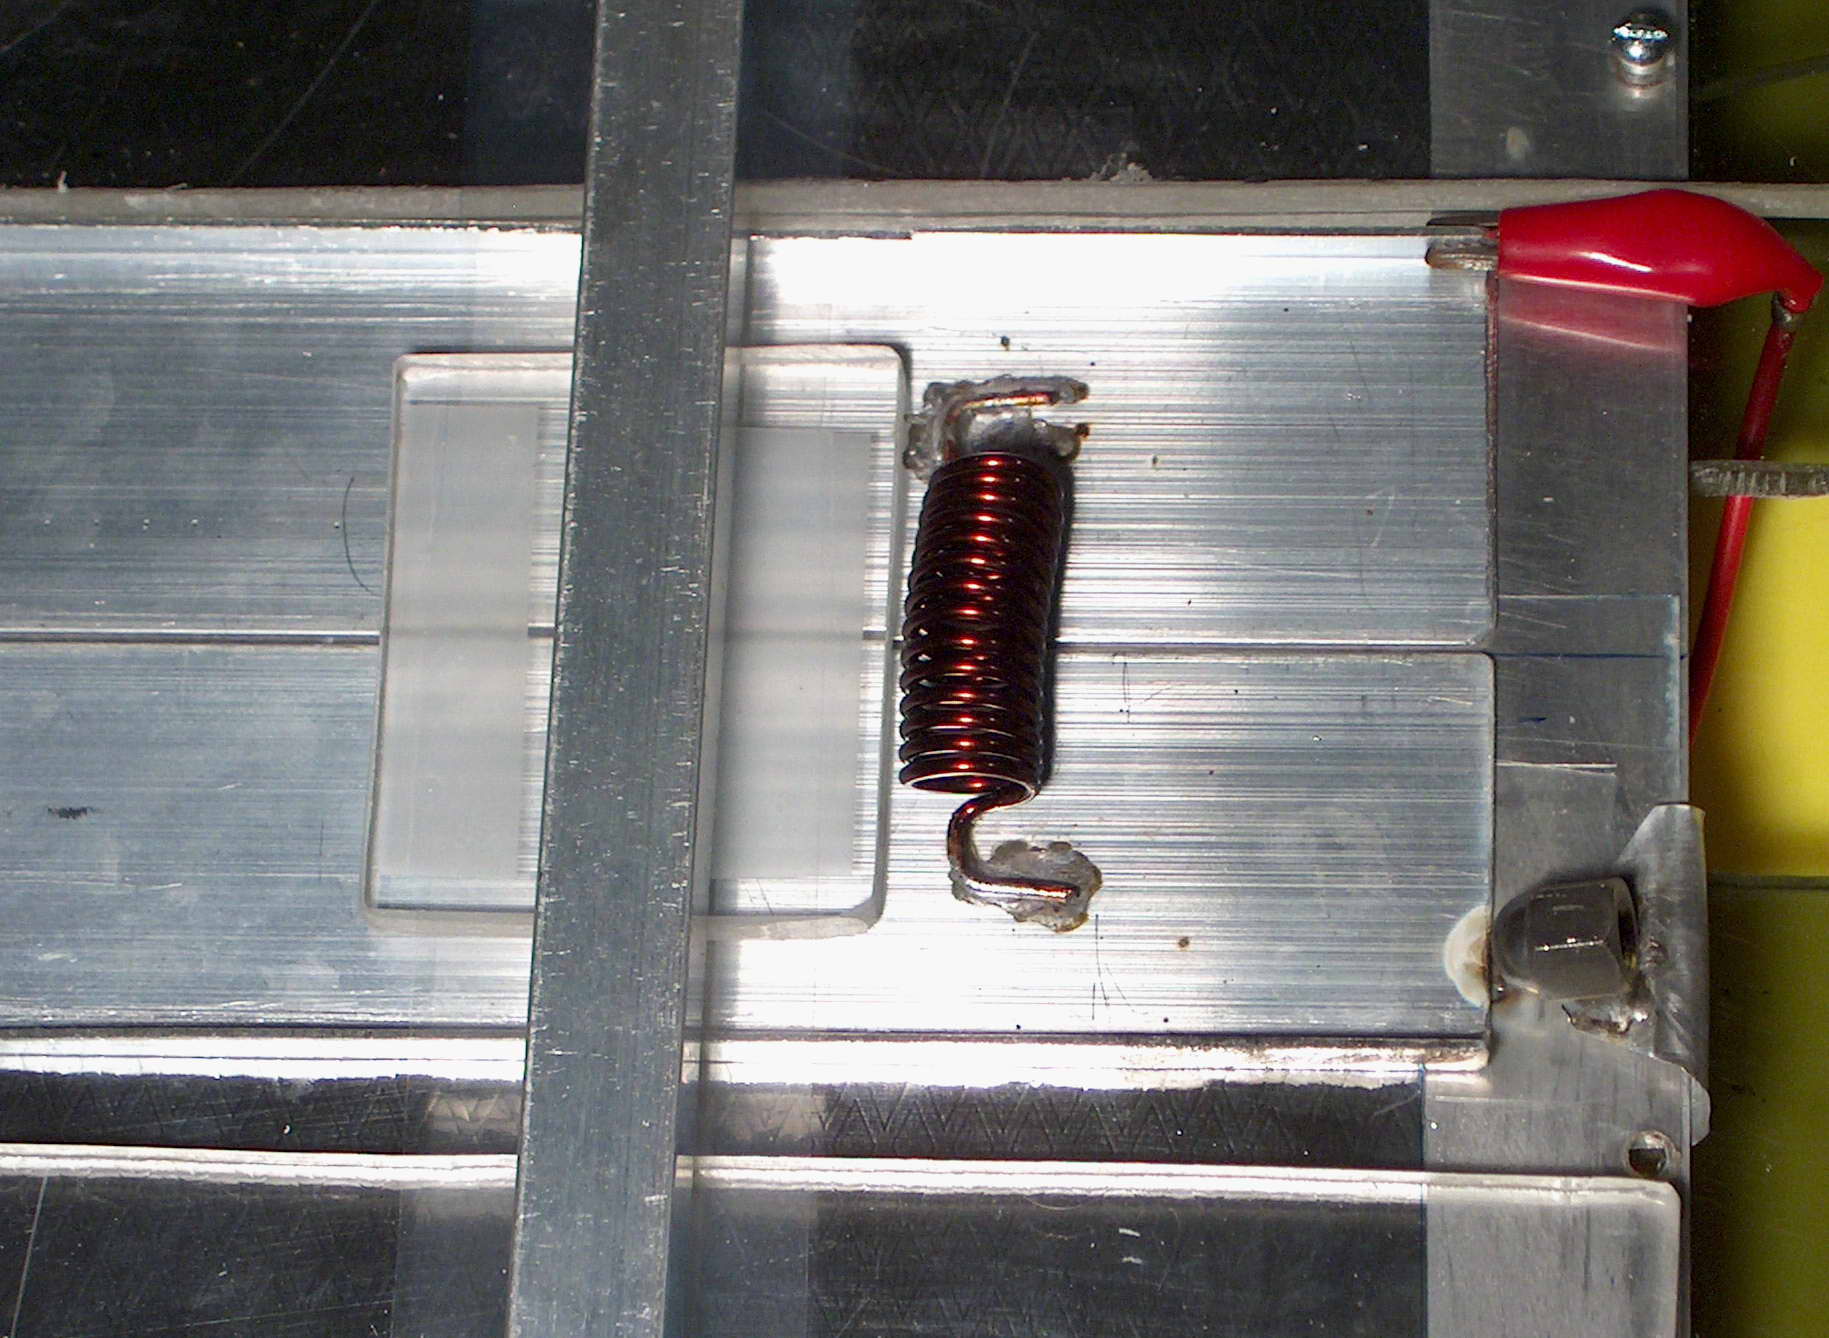
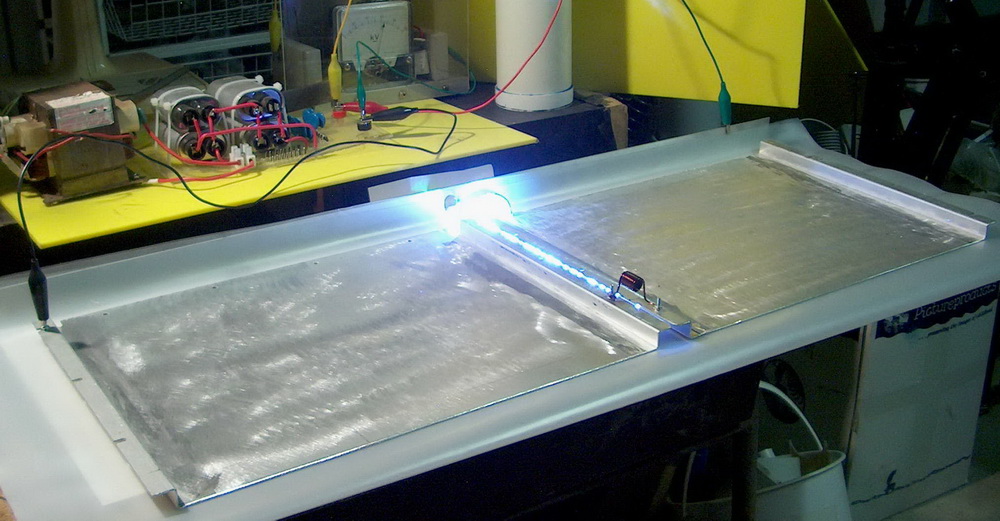
A later versions which works better and has wider cut down aluminium angle without the glass backing. The spark gap goes directly onto the main aluminium plate rather than onto an electrode via the foil. Hopefully this allows higher currents. The inductor is aluminium soldered directly to the electrodes. The final capacitance for the set-up is 17 nF.
In action there is a glow between the two plates with some white high intensity sparks.
The beam excites yellow fluorescent marked paper to go green and plain white paper to go blue . The beam comes out either end and often both together and flickers a lot.
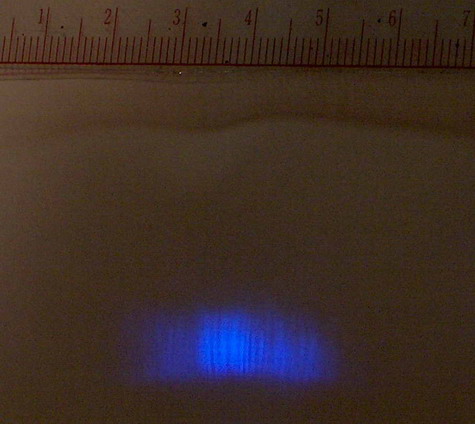
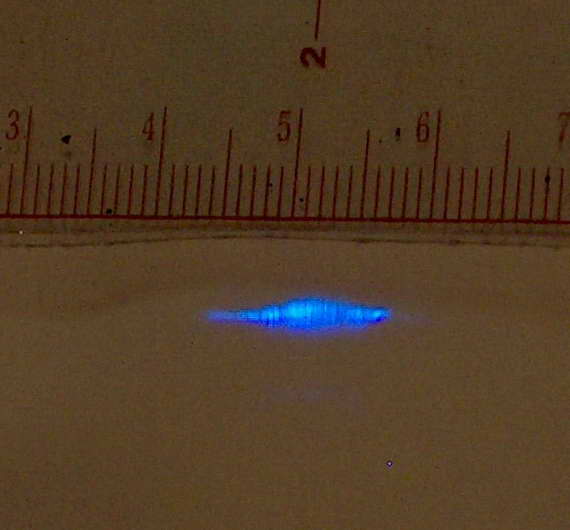
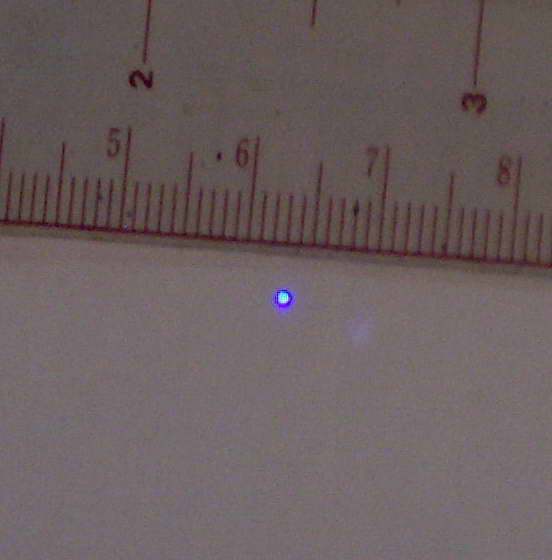 The beam unfocused at 4 feet (1.3m) above, left, then focused with one and then two plastic lenses out of toy binoculars. Note the striations and significant divergence. Scale is cm.
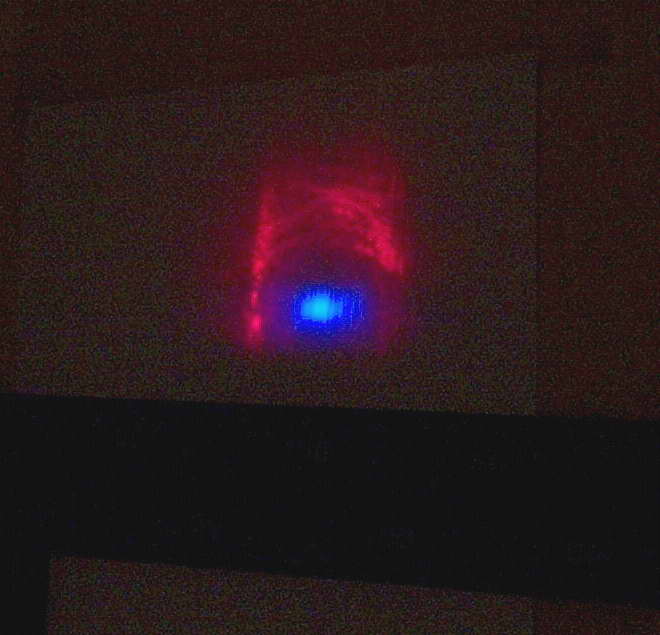
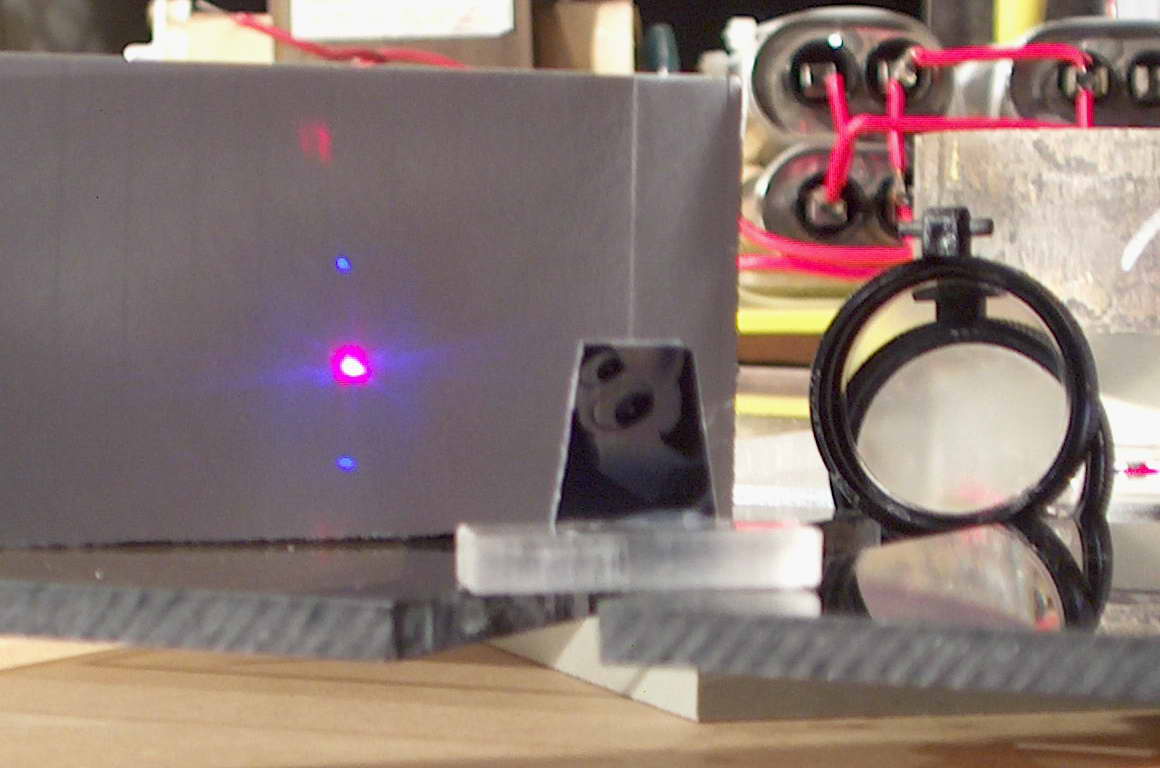 These pictures show a collinear laser diode beam down the nitrogen laser channel. The left shot is of the beams at 4 feet (1.5 m). the laser diode beam has spread due to reflections. The right shot is reflected off a fragment of a CDROM (Mario teaches typing – see his eyes). This gives a central reflection and first order diffraction with the ultraviolet being closer and the red diode beam being farther from the central reflection . This confirms it is monochromatic.
I’ve just worked out why this pic looks familiar. It has more than a passing resemblance to a Hubble shot of the Cat’s eye nebula.
Related pages
Try something else
External links
Photo Date: May 31, 2004
 Nitrogen laser 1
 Interview